Udder Preparation for Clean Raw Milk
Step 3 in the Raw Milk Roadmap • by Michelle Parsley, M.Photog., M.Artist, Cr.
Full process demonstrated in video below.
Udder preparation is one of the most significant factors influencing bacterial load in raw milk. The majority of environmental contamination does not originate inside the cow — it begins on the surface of the teat and is carried into the milk if cleaning is incomplete or inadequate.
Shortcuts at this stage routinely show up later in elevated coliform counts and inconsistent lab results. For anyone producing raw milk for their own family or for others, disciplined udder preparation is not optional — it is foundational to producing milk that is clean and predictable.
Step 3 Summary: Udder Preparation in 5 Steps
-
Clean teats with single-use wipes.
-
Forestrip into a strip cup and visually inspect milk.
-
Apply iodine pre-dip and allow labeled contact time.
-
Dry thoroughly — one towel per teat.
-
Begin milking only when teats are clean and dry.
At Any Scale, the Goal Is This:
Reduce bacteria on the teat surface before milk collection begins.
Milk inside the udder is protected. The teat surface is not. Bedding, dust, and farm debris settle on the exterior of the teat throughout the day. Clean milk begins before the bucket ever attaches. Proper udder preparation protects teat ends, reduces bacterial load, and safeguards milk quality. Inconsistent udder preparation is one of the most common causes of elevated coliform counts in small herd raw milk testing.
Proper udder preparation reduces what enters the system during milking.
In this demonstration, I adjusted hand position while stripping the teats for camera visibility. In daily milking, I use a compress-and-release (pinch and roll) technique to avoid downward tension on the teat which supports longterm udder health.
What to Look for During Forestripping
Forestripping is not simply a mechanical step before milking. It is a diagnostic moment. The strip cup allows the milker to evaluate milk quality before it ever enters the bucket.
Normal foremilk should appear smooth and uniform, with no clumps, flakes, or stringy material. Any visible abnormality warrants immediate attention and should never be allowed into the main milk supply.
The first video below shows normal foremilk entering the strip cup. The second shows abnormal milk with mastitis clumping visible on the screen.
Visual inspection takes seconds. Skipping it can cost far more.
Normal foremilk passing through the strip cup screen. This is what you want to see day to day. Also demonstrates “pinch and roll” milking technique.
Abnormal foremilk showing early mastitis clumping on the strip cup screen. These slimy clumps should never enter the milk supply.
My Udder Prep Routine
This is the routine I follow consistently at every milking.
Physical Cleaning
Using a teat wipe, each teat is cleaned. Sometimes that requires more than one wipe — however many it takes to remove visible debris.
The goal is simple: clean means clean. If debris remains, repeat the process. No shortcuts.
Forestripping
Each teat is stripped and the milk is observed for clumps or abnormalities. I was trained to mimic the action of a nursing calf — compress and release rather than pull — to support long-term udder structure.
This serves two purposes:
• Early mastitis detection
• Clearing the teat canal prior to machine attachment
Milk should look and smell normal before proceeding.
Iodine Pre-Dip
Each teat is dipped in iodine solution and allowed 30–45 seconds of contact time. Always follow the manufacturer’s labeled contact time for your specific iodine product.
Contact time matters. Disinfectants require time to work. Rushing this step reduces its effectiveness.
During this window, I either wash my hands thoroughly or, for those who use them, gloves may be changed or sanitized. (I personally wash, as I am allergic to gloves.)
Thorough Drying
Each teat is dried using individual "select-a-size" paper towels — one towel per teat. Use a fresh towel for each teat to prevent cross-contamination. After wiping each teat, look carefully at the towel for any signs of dirt or debris. Sometimes the pre-dip loosens debris that was not removed by the initial wipe. If debris is present, re-dip the teat, allow full contact time, and wipe again with a fresh towel.
In freezing temperatures, teats must be fully blotted dry before the cow exits the stanchion to prevent chapping or frost injury.
Teats should be fully clean and dry before attaching the milker.
Milk Collection
Once teats are fully clean and dry, milk collection may begin.
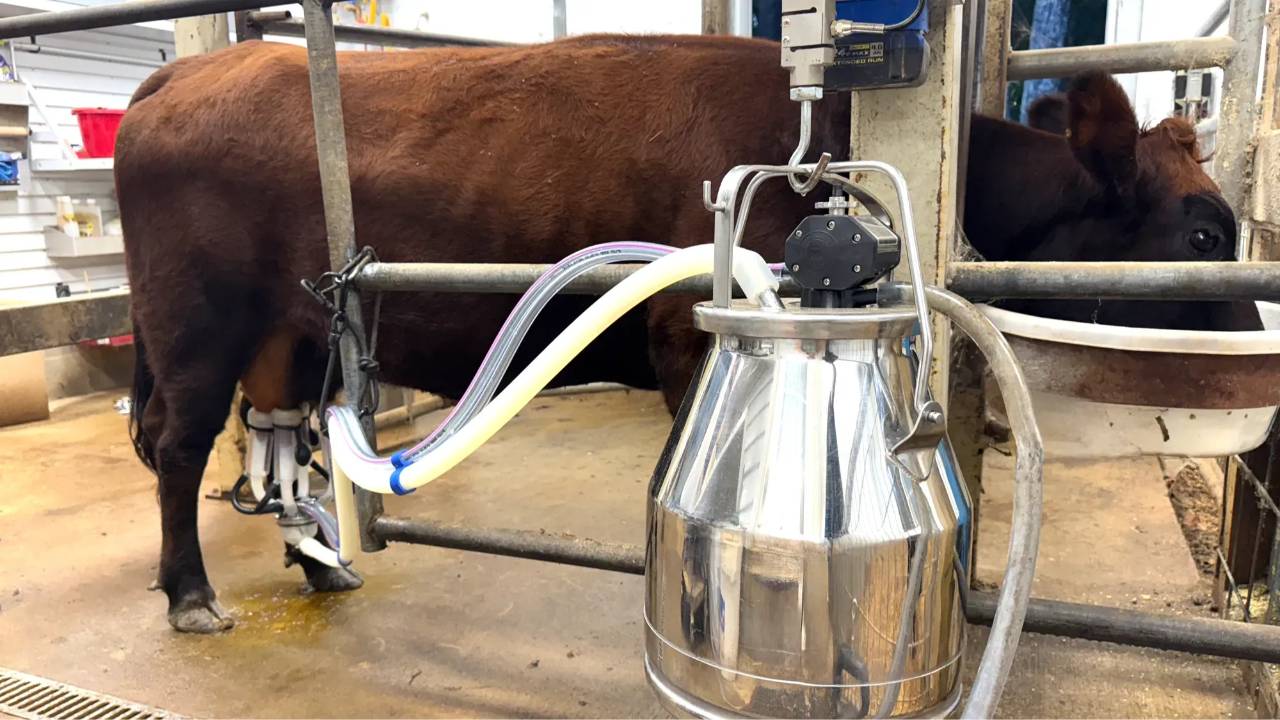
If using a bucket milker, attach the unit promptly after drying to minimize environmental exposure.
If hand milking, position the bucket directly beneath the udder and remain attentive to the cow’s movement throughout the process.
This is the exact udder preparation protocol used daily at Mountain Heritage Farm to produce clean raw milk. It is field-tested, repeatable, and designed to reduce bacterial load before the first drop enters the bucket.
Print it. Follow it. Repeat it at every milking.
Download Udder Preparation Protocol PDFBehavioral Discipline of the Milker
Udder preparation is not mechanical alone — it is behavioral. The milker sets the standard every time they enter the milking parlor. Rushing contact time, reusing towels, skipping forestripping, or allowing teats to remain damp introduces preventable risk. Familiarity with a cow does not justify shortcuts. The protocol remains the same whether milking one cow or many, whether under time pressure or not. Consistency between milkings is what produces repeatable results.
A Word on Hair Management
Clean surface. Dry surface. Protected teat canal.
📸 Winter hair and debris increase contamination risk if teats are not thoroughly cleaned before milking.
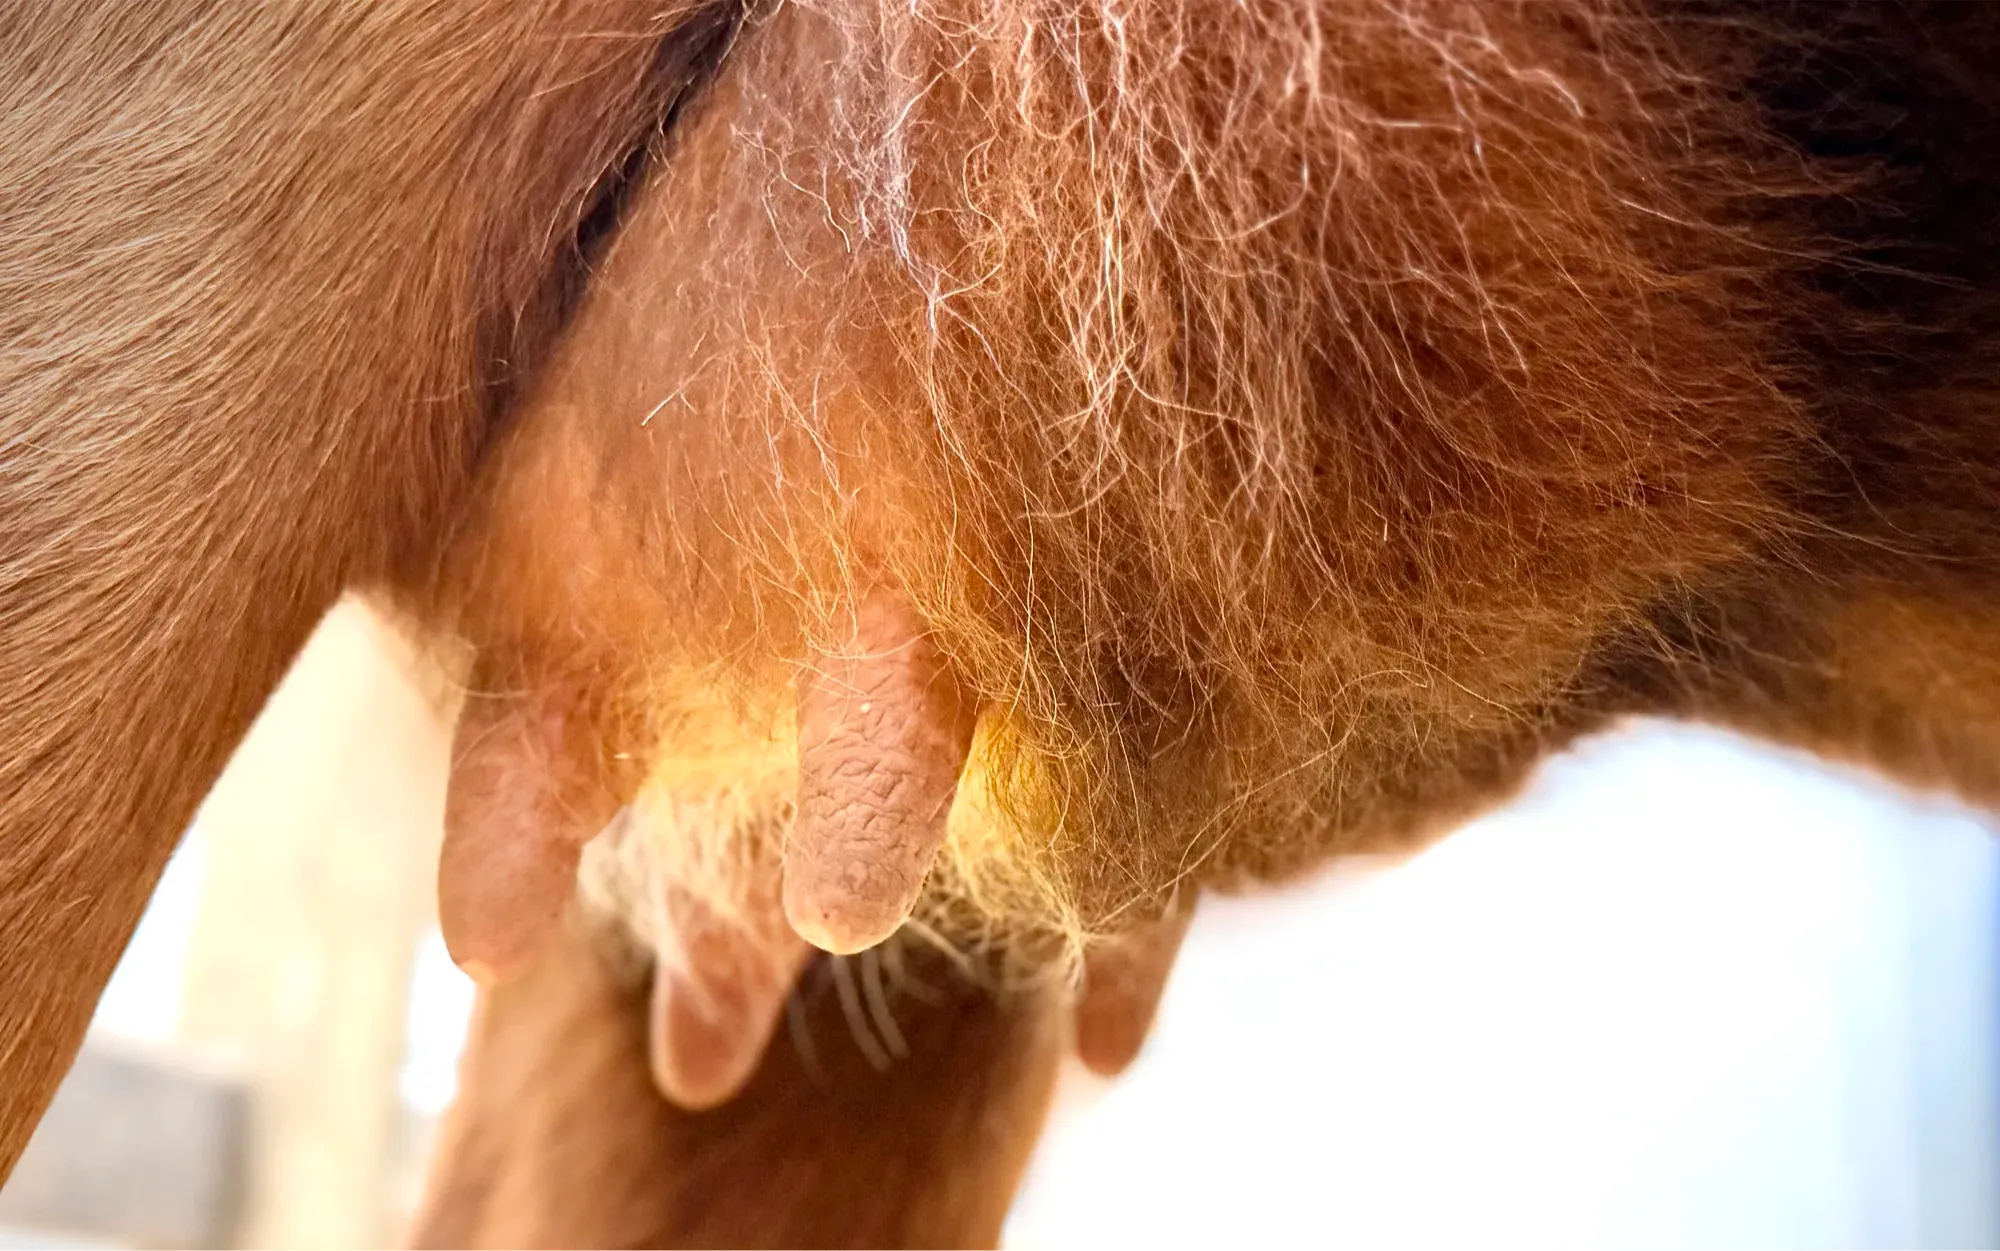
Hair traps debris. Bedding particles, dried manure, dust, and feed fines cling easily to longer udder hair, especially in winter when coats are thickest. When that debris sits close to the teat end, the risk of transferring contamination during milking increases significantly.
Heavy winter coats often require more deliberate cleaning time. Even when cows appear clean at a glance, longer hair can conceal fine debris that shows up later on paper towels or in elevated coliform counts. This is why thorough wiping and inspection matter — particularly during cold months.
Whether to clip an udder is a management choice. Some producers routinely clip for ease of cleaning. At Mountain Heritage Farm, I prioritize thorough cleaning first. If hair length begins interfering with effective sanitation or drying, strategic trimming may be considered. Regardless of clipping preference, the standard remains the same: teats must be visibly clean and fully dry before milking begins.
Hair does not excuse shortcuts. It simply requires diligence.
Products Used in This Protocol
The following supplies support the protocol outlined above and are included here for clarity and replication.
**Links are provided for convenience. I do not receive compensation for these recommendations.**
Brands may vary. Procedure does not.
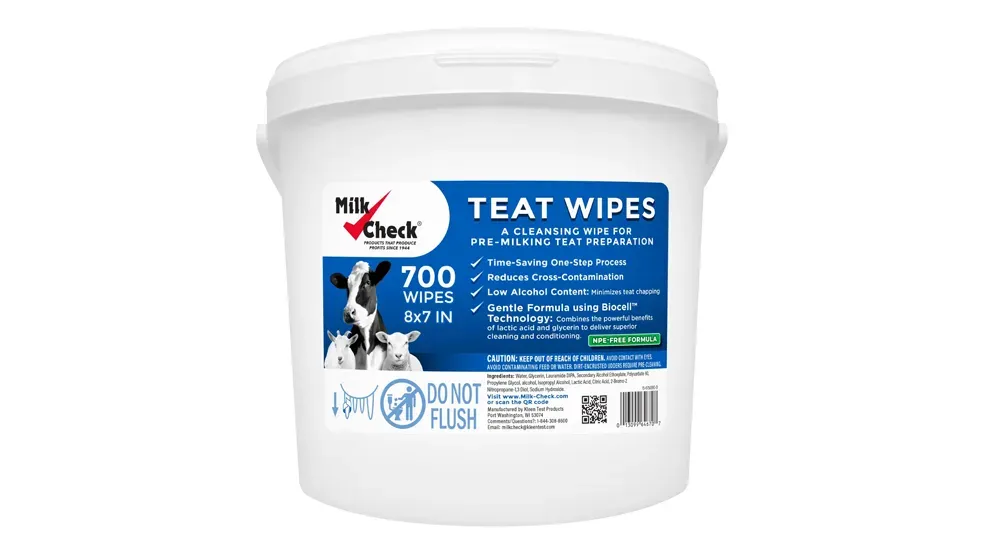
Teat Wipes
Single-use dairy wipes used for pre-milking udder cleaning.
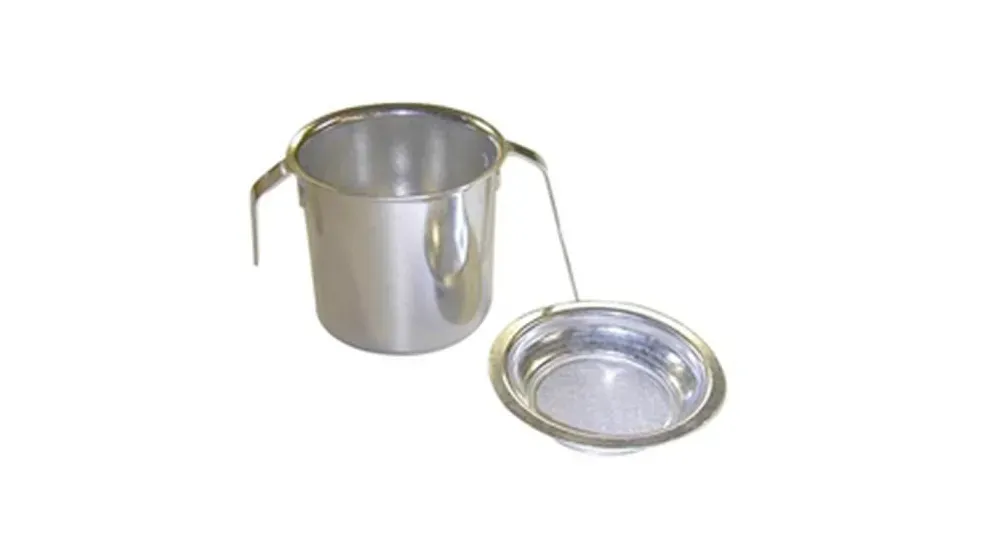
Strip Cup with Screen
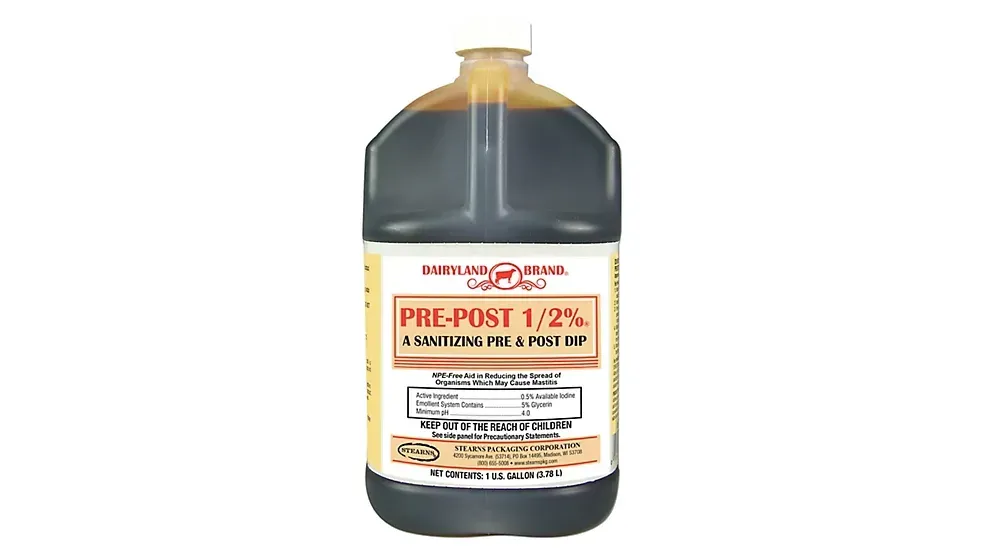
Teat Dip
1/2% iodine pre- and post-milking teat dip with glycerin for teat skin conditioning.

Non Return Dip Cup
Purchase two colors via the dropdown. One for pre-dip, one for post-dip. I use blue for pre and green for post.

Paper Towels
Select-a-Size paper towels used for one towel per teat.

Nitrile Gloves
Non sterile gloves can be used in place of hand washing if you don't have a sink available.
Common Hygiene Mistakes in Small Herds
- Rushing pre-dip contact time
- Using one towel for multiple teats
- Milking damp teats
- Skipping forestripping
- Allowing post-dip to freeze without blotting
- Assuming a “clean-looking” udder is clean
These mistakes often show up later in elevated coliform counts or inconsistent milk quality.
At Any Scale
Whether milking by hand or machine:
• Clean thoroughly
• Allow disinfectant proper contact time
• Dry completely
• Observe milk at every milking
• Post-dip consistently
Scale changes convenience. It does not change standards.
